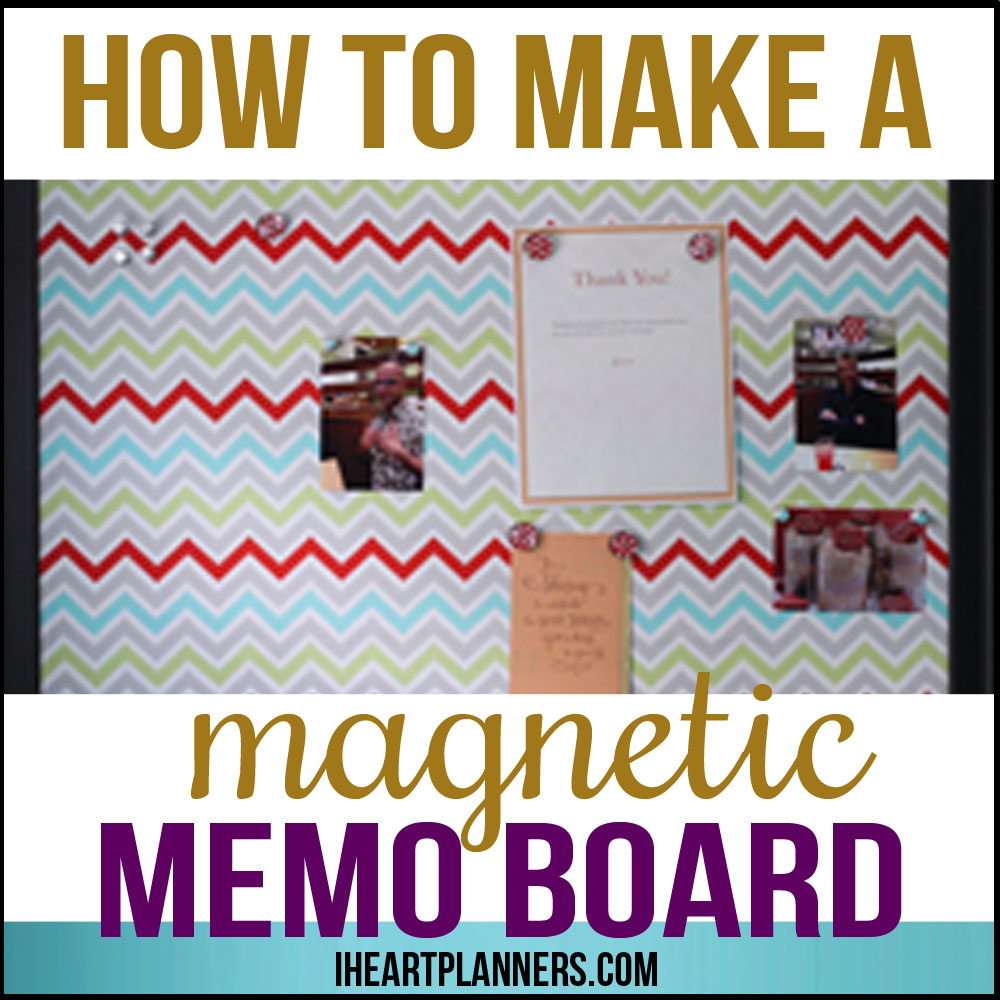
How to Make a Magnetic Memo Board
You may have seen various fabric covered memo board ideas floating around the web. I first ran across the idea over a year ago, and I knew I had to do it.
You may think the idea is so simple, why would you even need a detailed tutorial? Well, friends, you must understand that when it comes to household projects I am so NOT a DIYer. Give me a computer, paper crafts, or some baking ingredients, and I can create just about anything, but if you try to hand me a drill, I will likely run away screaming! This may have contributed to the fact that it took me at least six months and two attempts to finally get around to making the project, and then, embarrassingly, ANOTHER six months and three friends to get the thing hung. You think I’m kidding about the three friends? Really, I’m not! Here’s photographic evidence of my dear sister-in-law Katie who doesn’t suffer from the same drill phobia that I do and came to my rescue:
For those of you who are like me, this tutorial is for you. I’m including all the details of what you need to do!
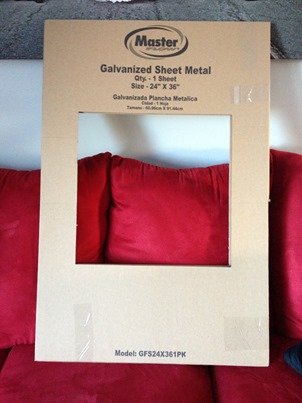
Gather your supplies. You will need a frame. I used one I already had, and it was a standard 24” by 36”. You will also need a piece of sheet metal the size of your frame. IMPORTANT NOTE: Do not get aluminum. It is not magnetic. Take a magnet with you to start to test the surface and make sure it is magnetic. (Ask me how I know.) I’m not sure why, but I couldn’t find this at Lowe’s, but I had better luck at Home Depot. They had the nicely cut piece of sheet metal inside this cardboard:
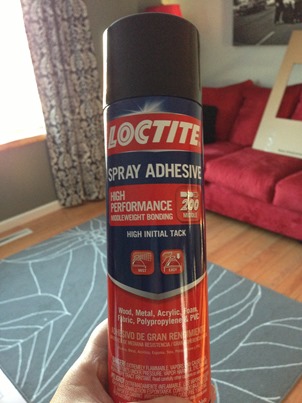
- If you are using a different size frame, you may need to cut the sheet metal, or see if they can cut it for you at the hardware store. You will also need medium strength spray adhesive. This is what I used:
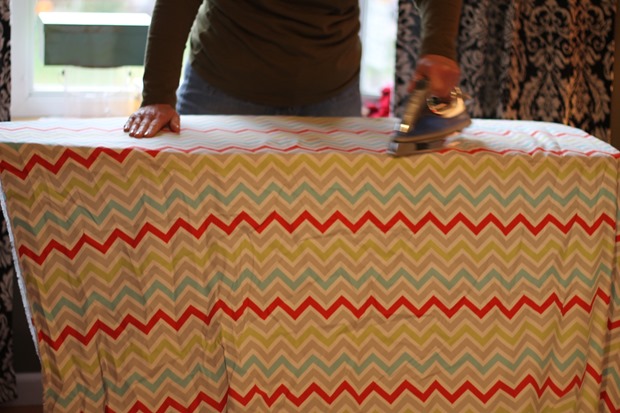
You will also need the fabric you want to cover your memo board with. First, iron your fabric:
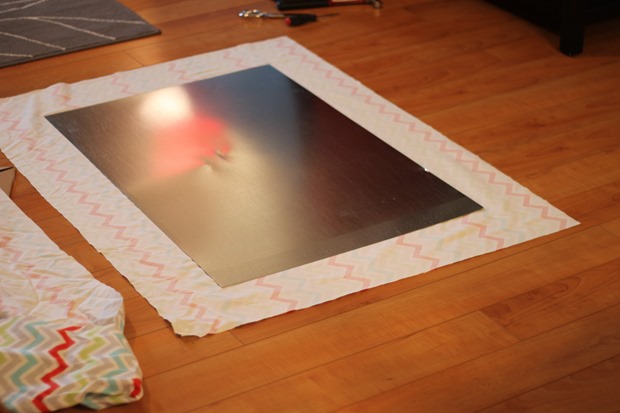
Next, lay your fabric out on the floor, place the correct size metal sheet on top of it and cut around leaving about 4 inches of excess on all sides. This does not have to be exact. (I would leave a lot less excess if I were doing a smaller board.)
Next, place your fabric wrong side up on a drop, in a ventilated garage or outdoors. (Your spray adhesive WILL go everywhere, similar to spray paint.) Center the sheet metal on the fabric. At this point, if you have a geometric print like I do or any type of pattern that could look crooked, make sure you line up the sheet metal so the print is straight. I used the Chevron pattern as a guide.
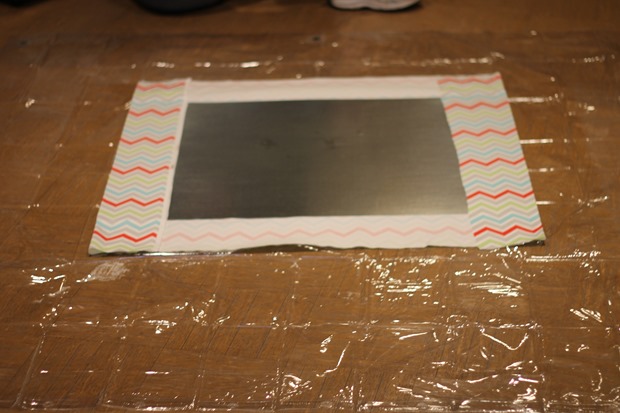
Next, spray a coat of adhesive on the back of the sheet metal. A lot will also get on the fabric, and that’s okay. Tightly fold each of the sides over and rub to adhere firmly to the sheet metal. As you can see, I did not put any adhesive on the front of the sheet metal. I thought it might make the fabric cling and look strange. It’s only attached on the back. Here it is with sides attached:
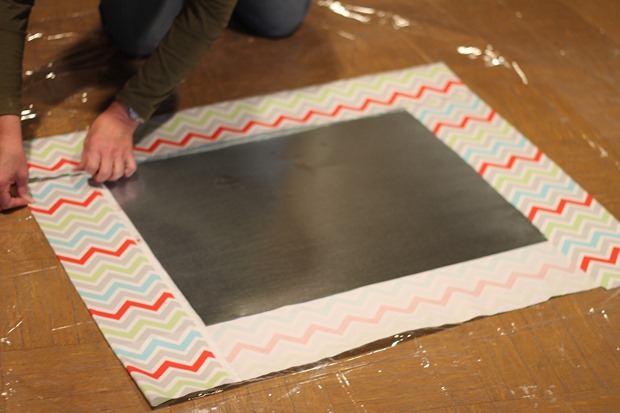
Next, spray a coat of adhesive along the top and bottom of the sheet metal and fabric. Make sure you adequately spray the corners. Fold over the fabric and rub to adhere.
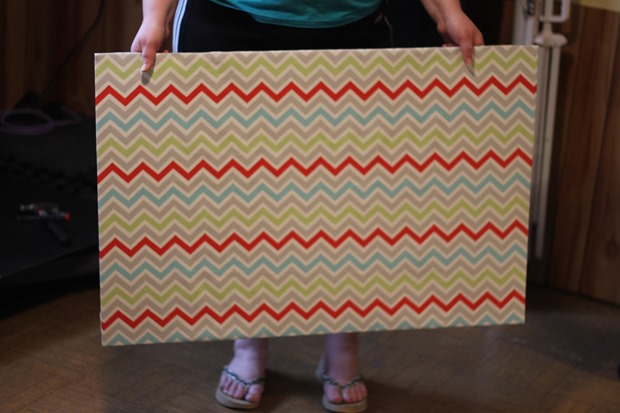
Allow the adhesive to dry for at least an hour. Now your sheet metal is all covered:
Remove the glass from the backing and the glass from your frame. This would be pretty easy with a small frame, but it’s much easier said than done for a large frame. Be very careful. I recommend doing this step outside or in the garage, keep a shop vac handy, and use thick gloves. We ended up breaking the glass in one spot, so be very careful.
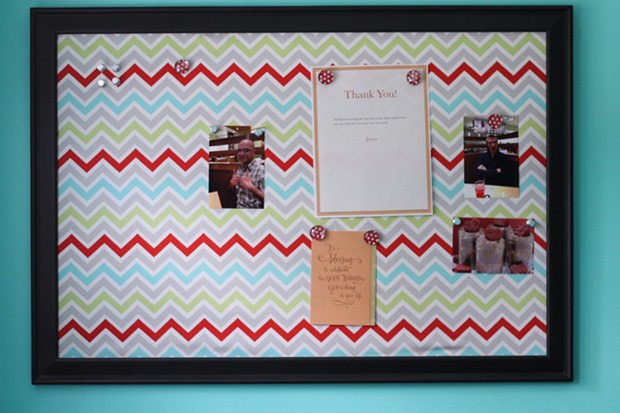
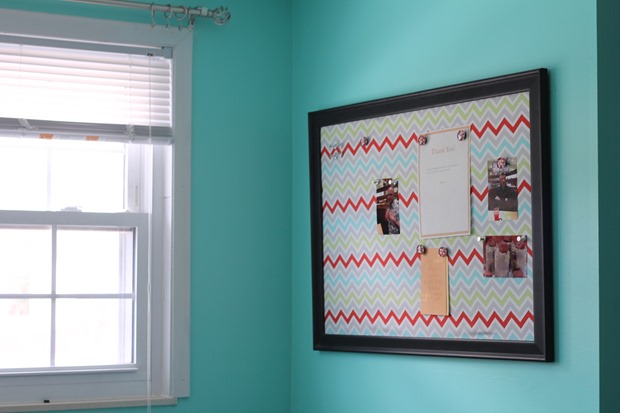
Once the glass is out, place your fabric covered sheet metal in the frame, replace the cardboard backing and secure in your frame. That’s it! Voila! It’s ready to hang. (Just don’t wait six months to hang it like I did.)
I can’t wait to show you the curtains I made out of this same material! They’ll be hanging on the window right beside it. (Hopefully, that won’t take another six months!)
Linked up here: One Project at a Time, Knock Our Socks Off, The DIY Dreamer, Tip Me Tuesday, Works for Me Wednesday, Women Living Well








 Copyright 2024, Get Organized HQ.
Michelle Says
Great tutorial and very cool project! I am with you on the drill thing though…I have never used one but I can learn!
Becca @ Bare Feet on the Dashboard Says
So glad I found this post through Sits. I just pinned it. I’ve literally been trying to figure out how to create something like this without messing with magnetic paint. Genius. Thank you!
Stephanie Says
I love this! I need something just like this for my office!
Adrienne Says
I love it! Stopped by SITS. 😉
kelly thompson Says
oh, wow- this is cute- It never dawned on me to put fabric over sheet metal- I like this idea and will have to try it!
Julie Jordan Scott Says
I love this and want to do it!! I actually sell magnets at festivals and stuff and I used to have a cool metal board attached to a table, but the person who did that for me moved and well, long story short, I’ve been hoping for another solution and you appear to have found it for me! YOU ROCK!
I love SITSSharefest! I meet so many cool people with such great ideas.
(And would you believe tonight I will be doing some paper machier? (I spelled it wrong! Pah!)
Caren with a C Says
I just started learning how to use power tools a few months ago. I still get scared by the drill after having a bad experience with it a few years ago…. PLUS… it is HEAVY! Your magnet board looks great. What color are your walls? Reminds me of my girl’s room I painted a few months ago, and what we WERE going to put in the bathroom, but just painted over today as it was just too bright for such a small room without a lot of natural light.
LauraJane Says
Post authorMy walls are aqua. It’s in my craft room/office and the colors of the room are red and aqua.
Jenn @therebelchick Says
What a fantastic idea! I am kind of surprised by how easy it is!
Cathy Says
Awesome tutorial! I love all the pictures! Another awesome post and blog found through SITSSharefest!
Cathy
http://apeekintomyparadise.blogspot.com/
Marie Says
I love this!!! The fabric you used is great – I love lots of color and the pattern is perfect!!
Danielle Says
Love this – especially the fabric… I have a fabric covered cork board, but this is great – I like magnets better than push pins… Anyway – I found you at One Project at a Time.
Happy Tuesday!
Danielle
SewMuchCrafting.com
Kelly @ Texas Type A Mom Says
This is such a great idea!
MommyJenna Says
This is seriously a great idea!
trisha Says
Thats really really clever!!
trisha
Elizabeth A. Says
That’s so great! Thanks for the how to!
Tiff @ Babes and Kids Says
I’ve been looking for an alternative way to display the kid’s artwork since getting our stainless steel fridge. This is perfect and I love how simple it is. Love the fabric you chose!
LauraJane Says
Post authorI think it would work well for displaying kid’s artwork.
Sara Phillips Says
I LOVE THIS!!! And that fabric you picked is adorable!!
LauraJane Says
Post authorThanks! A friend used the fabric, and as soon as I saw it, I knew I had to have it!
Katrina Says
Wow I love this and will have to make one of my own. Thanks!
LauraJane Says
Post authorI’d love to see pics if you make one for yourself.
Kim @ Plumberry Pie Says
ADORABLE! This turned out great. And I have the same issues with drills as you. That is why 3M hooks are my best friend! I have so many projects that are in the making and not yet made, so I totally get the 6 month lag time. 😉 Thanks so much for stopping by and commenting yesterday! As you know, comments are like a gift every time.
Tara Says
Looks good! I can’t wait to see the curtains.
Linda Says
This came out amazing! I definitely need to try this. I did something similar w/ a bulletin board a long time ago, but magnet boards are so much better!!
Blackberry Lane Says
Thanks for the great tutorial. I made one for my kitchen and plan to make some for Christmas gifts. I put a link to your post/tutorial on my blog. THX
Liz Says
awesome tutorial! the side of my fridge is magnetic and the front is stainless. therefore, my magnets are on the side which was not much room b/c of a wall. anyhow ive been wanting something like this to display my magnets and etc
Jenny bowman Says
Love it…. Want to use it for a church Wed. Night program… Prayer board. One question…. When pulling on and off the magnets does it pull at the fabric? Didn’t know if that would happen and if I needed to make sure the fabric was secure on front too. This board will have things coming on and off daily.
LauraJane Says
Post authorI haven’t found it to pull at the fabric at all. I did make the fabric very tight, and there’s a ton of glue on the back.
NaOmi Says
I just finished this project today and it looks great!!!! Thanks for sharing this idea!
LauraJane Says
Post authorSo glad you like it! I’m sure you’ll enjoy your memo board.
Melissa Says
I love this. I think I might adapt it to make a jewelry holder for my daughter. her small jewelry box is just too small for all her pieces and having a board like this for hanging the bracelets and necklaces would work perfectly. And since it’d be magnetic we could move things around and adapt as necessary. thank you!
Jan SMith Says
My friend/co-worker and I are going to make this very soon for the office! This will really brighten up our space. 🙂
I noticed in your instructions you said to spray both sides of the sheet metal with the adhesive, and then said you didn’t put any on the front. I’m assuming you meant the adhesive only goes on the back, right?
LauraJane Says
Post authorYes, I only put adhesive on the back of the sheet metal.
Samantha Says
Your best advice was picking a standard size! I’ve had no luck finding someone willing to cut a 24×32 piece & if you think a drill is scary, tin snips & leather gloves are worse.
I have a couple square mesh desk organizers I plan to stick magnets on and add to your idea – its totes fab!
LauraJane Says
Post authorYes, I definitely didn’t want to cut it myself.
Julie Says
We recently bought a bigger home and it came with new stainless steel appliances.
My friends tell me not to put our collection of vacation magnets on it as they can rust it. I had no idea. Your idea here is the perfect solution I have been looking for. I can’t wait to get started. Already have a big frame so I have a nice start.
You’re so smart. Glad I found you. 🙂
Nancy Hobbs Says
Your bulletin board is great! I made 5 bulletin boards for my family for Christmas. Mine were not in fabric but otherwise about the same. One was an antique frame, one was a old medicin cabinet and the 3 others were framed wood. I also made magnets and dry marker pens holders from Burger King. How do I send my bulletin boards and other magets to Pintrest?
Pingback: Decanter Blog
Pingback: Illustrated Blog
Asma Moury Says
Thank you for sharing the idea.